
Elevator - Assembly Part 1
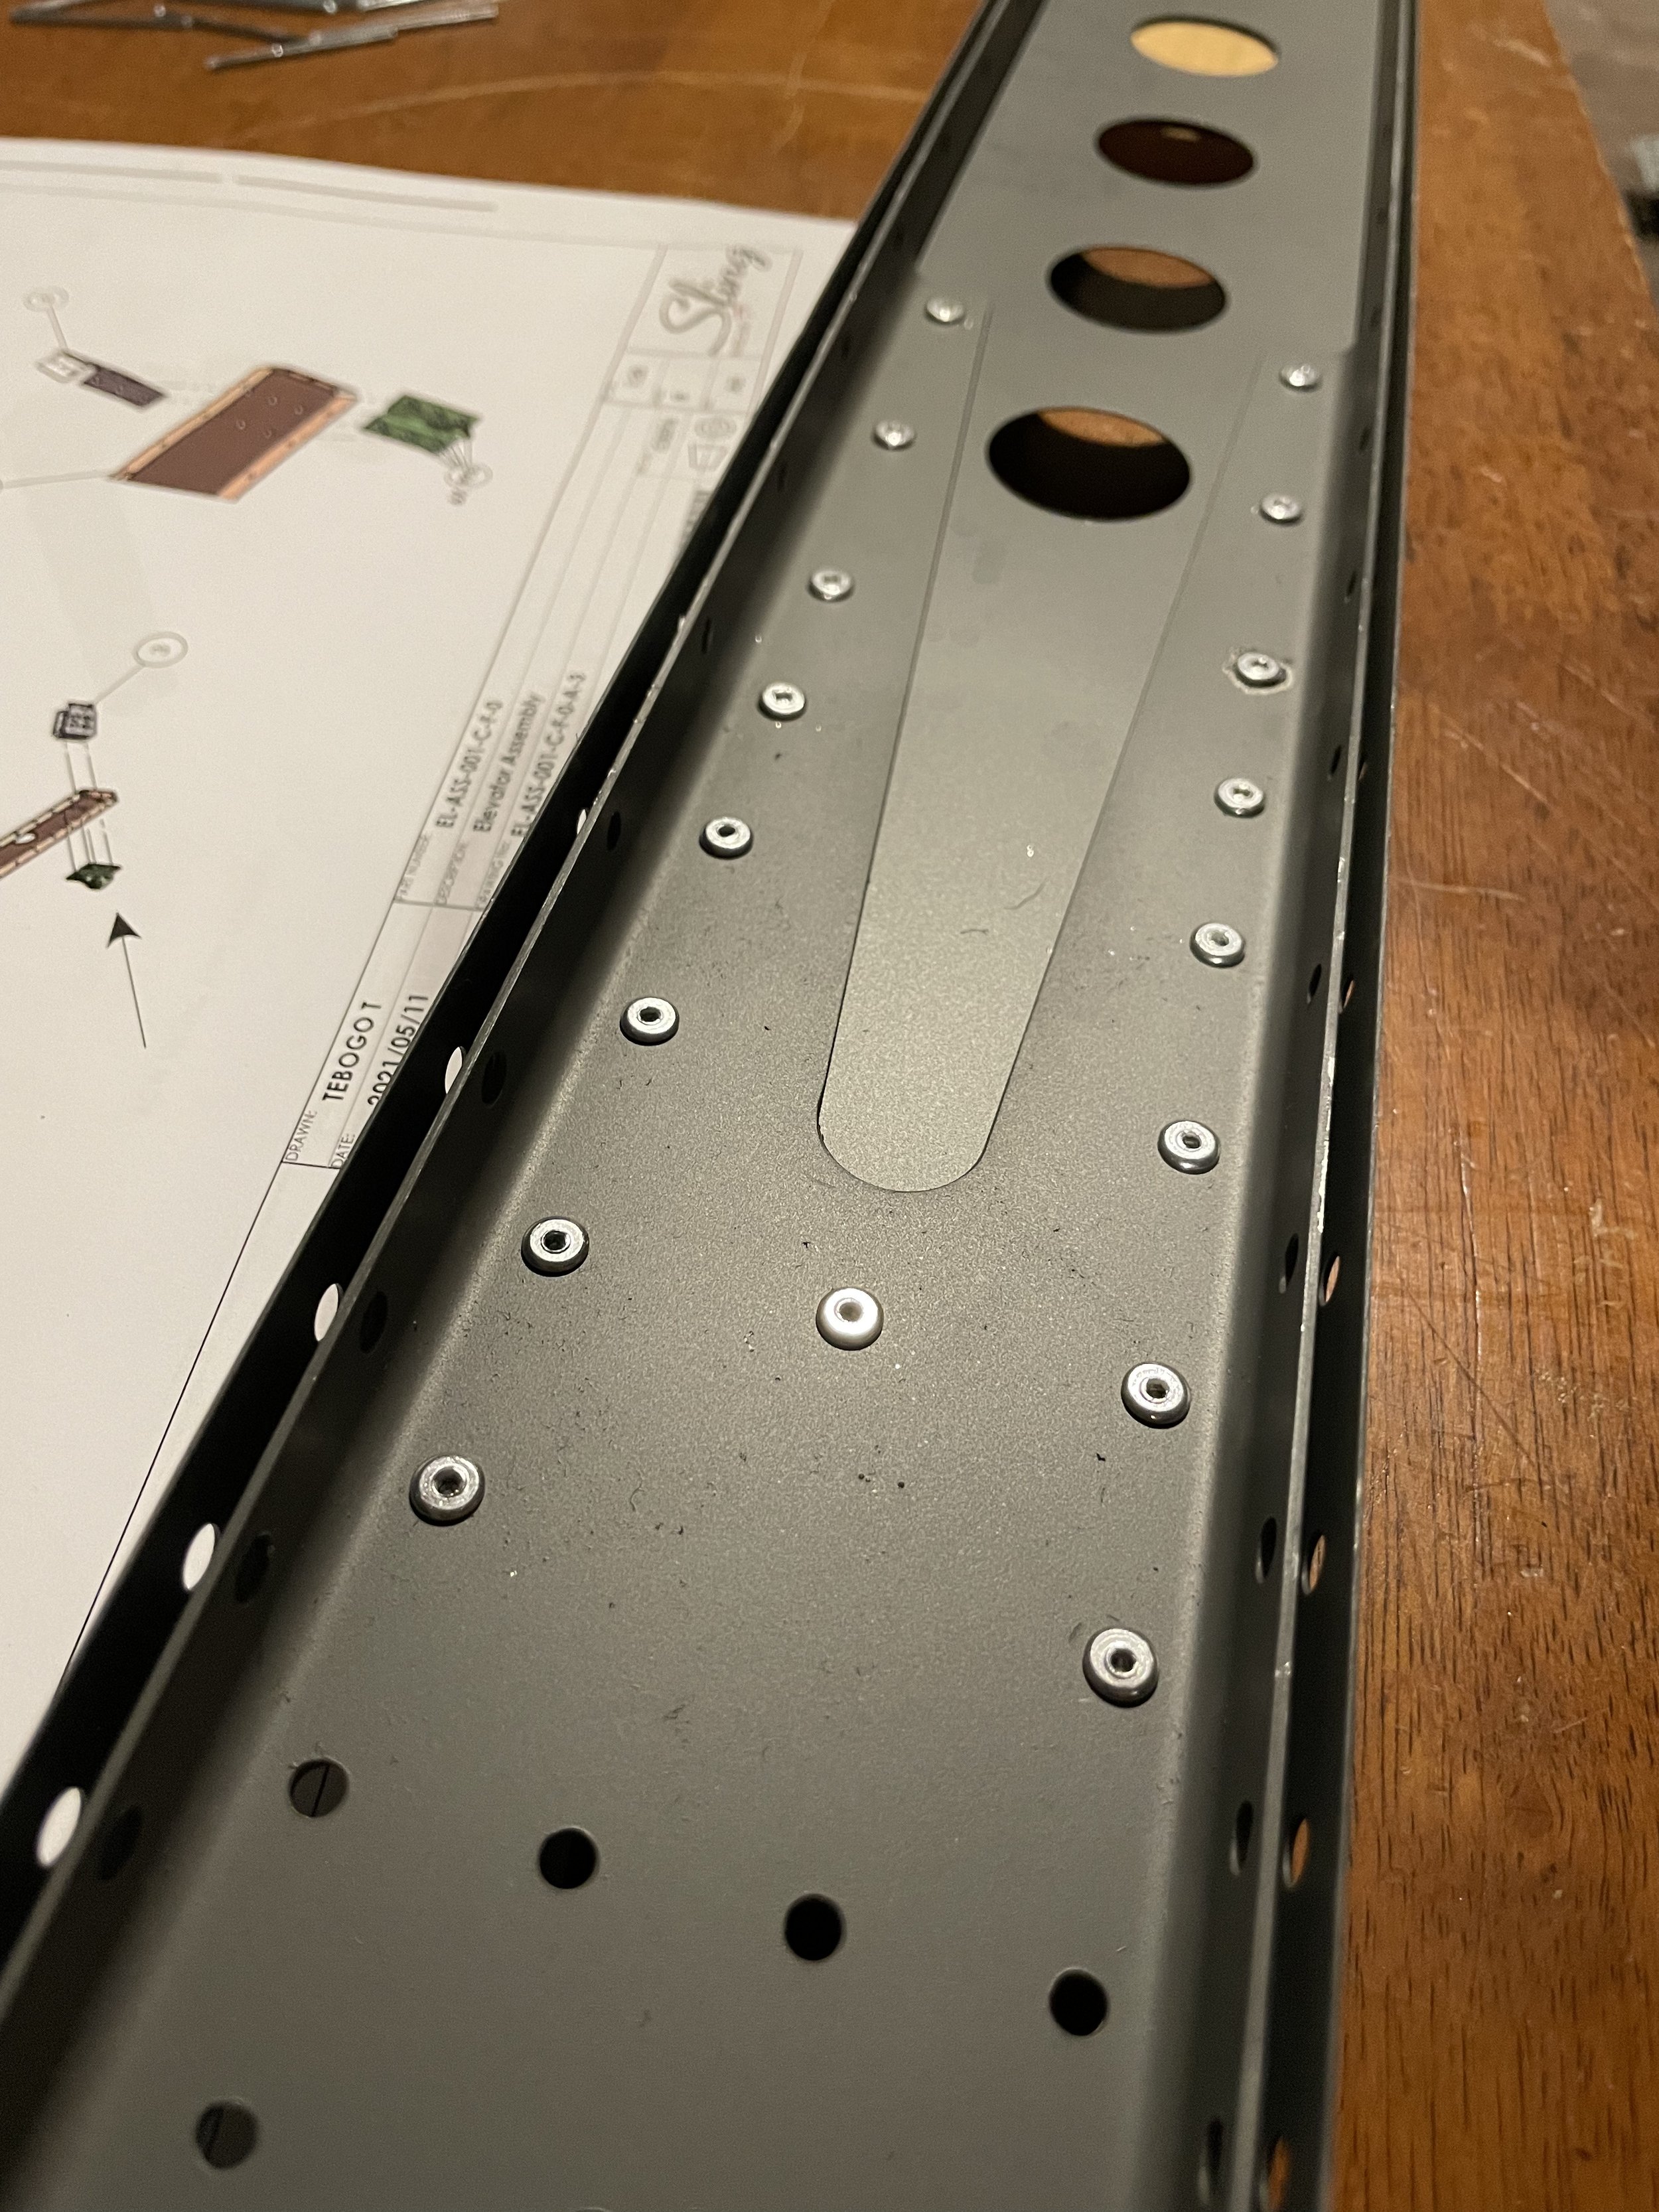
Since I couldn’t finish the horizontal stabiliser due to the rear spar being on backorder, I started working on the elevator instead. As usual, it begun with prepping all the parts followed by assembling the main spar with clecoes and rivets.

Next came the counterweight and swing arm assembly, followed by adding rib 1 left and right to the main spar along with some reinforcing and the swing arm. The swing arm has some AN3 bolts that have to be torqued and torque sealed. I have not done this yet, but will do this before I attach the elevator to the horizontal stabiliser.


From here it was simply adding the rest of the ribs as well as the hinges where it will eventually connect to the horizontal stabiliser. Since the trim tab sits on only on the left side, there was some extra reinforcing here.


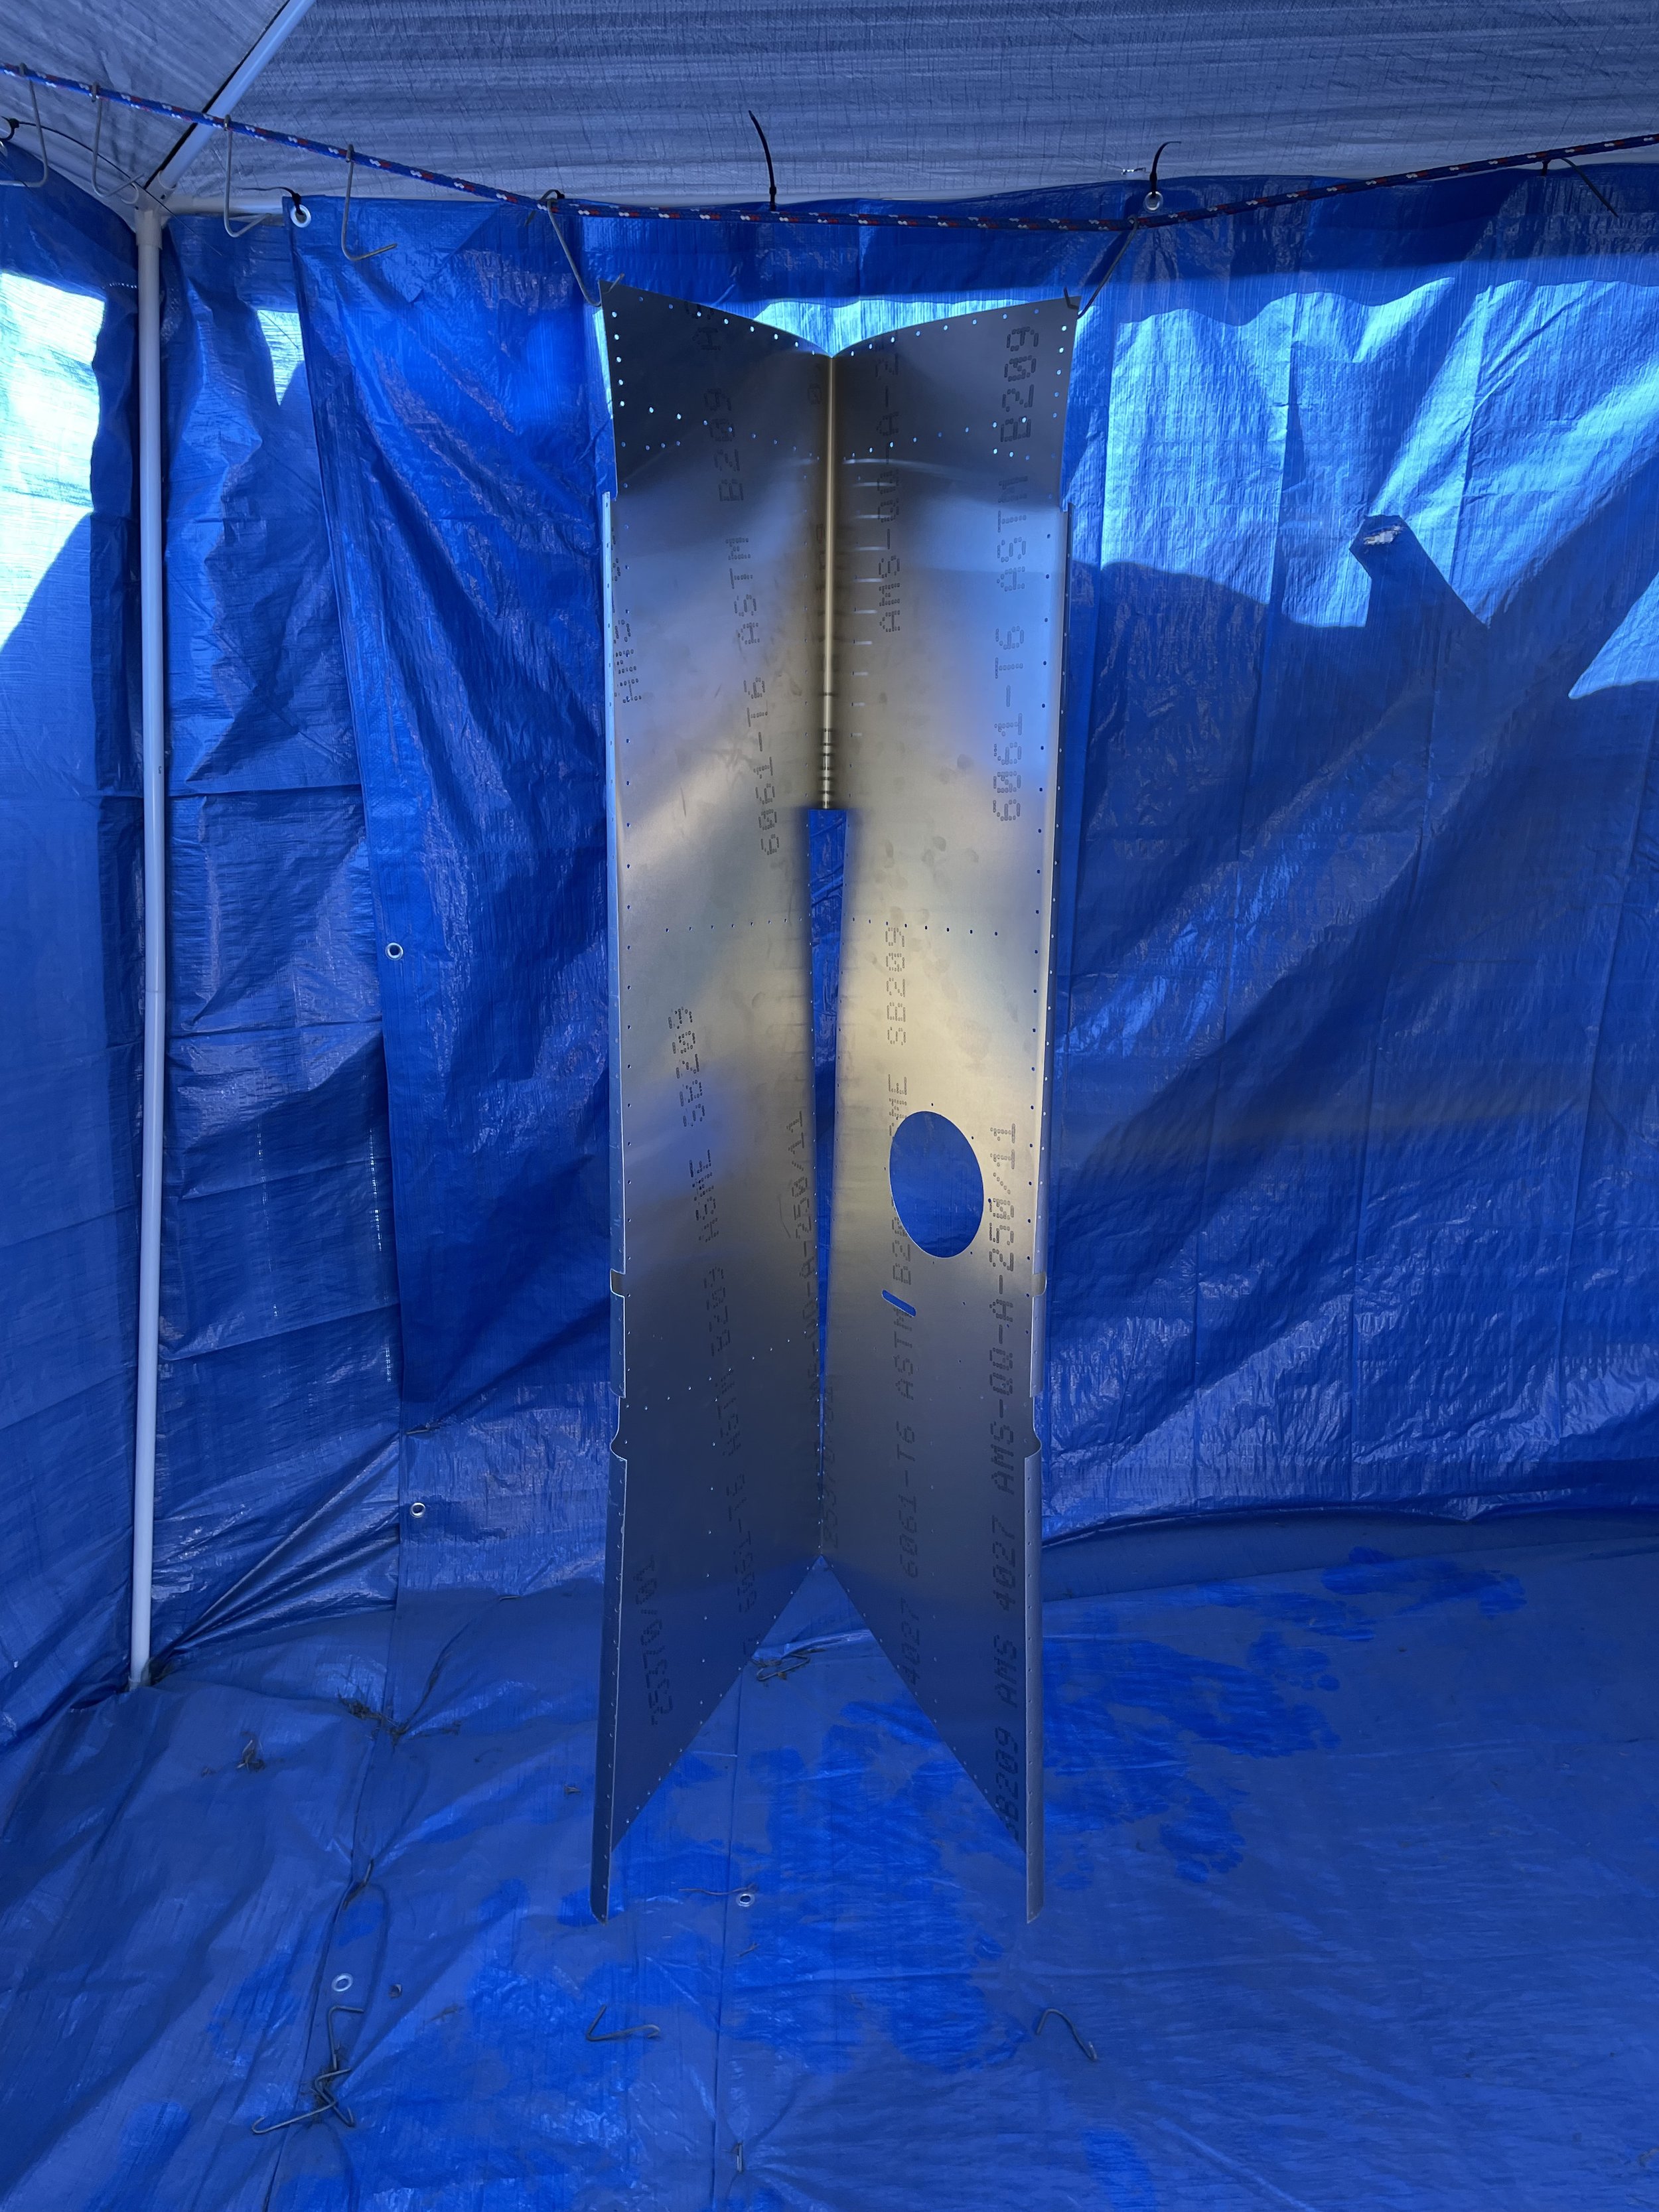
With the whole assembly complete, it went into the spray booth for priming.


Next came preparing the skins. I primed the inside of them, and installed the inspection hatch grip plate. This allows for access to the trim servo after the skins are riveted onto the assembly.

Using clecoes, I fitted the skins to the assembly and used a builder’s level to check that it is flat. I also carefully checked that there are no weird kinks or bends in the skins, and that they are sitting nice and flat. I also carefully checked that the trim tab is flush with the rest of the skin, and that there is no twist in it.

With the skins clecoed on, the next step was to fit the fibreglass tips and drill the holes for riveting later. I started by carefully drilling one hole with the tip lined up, then inserting a cleco to hold it in place. As I drilled more holed, I’d add more clecoes to help keep the fitment perfect.
I also found that the tip skin didn’t fit the tip very snugly, so I had to do some bending to reduce the bend radius to match the tip.

The tip skins have dimples, so I also need to countersink the fibreglass tips. I have not yet gotten to that point, because I then read that before you can rivet the skins, you have to attach the elevator to the horizontal stabiliser and check for alignment, and since I didn’t have the backordered parts yet, I decided to leave it here for now.
So, here’s where we are at to date:
