
Horizontal Stabiliser - Assembly Part 1
With all the parts (except the two backordered parts) prepared, it was time to start assembly. The first part to assemble is the front spar. I use clecoes to fit everything together and check for alignment before pulling any rivets.

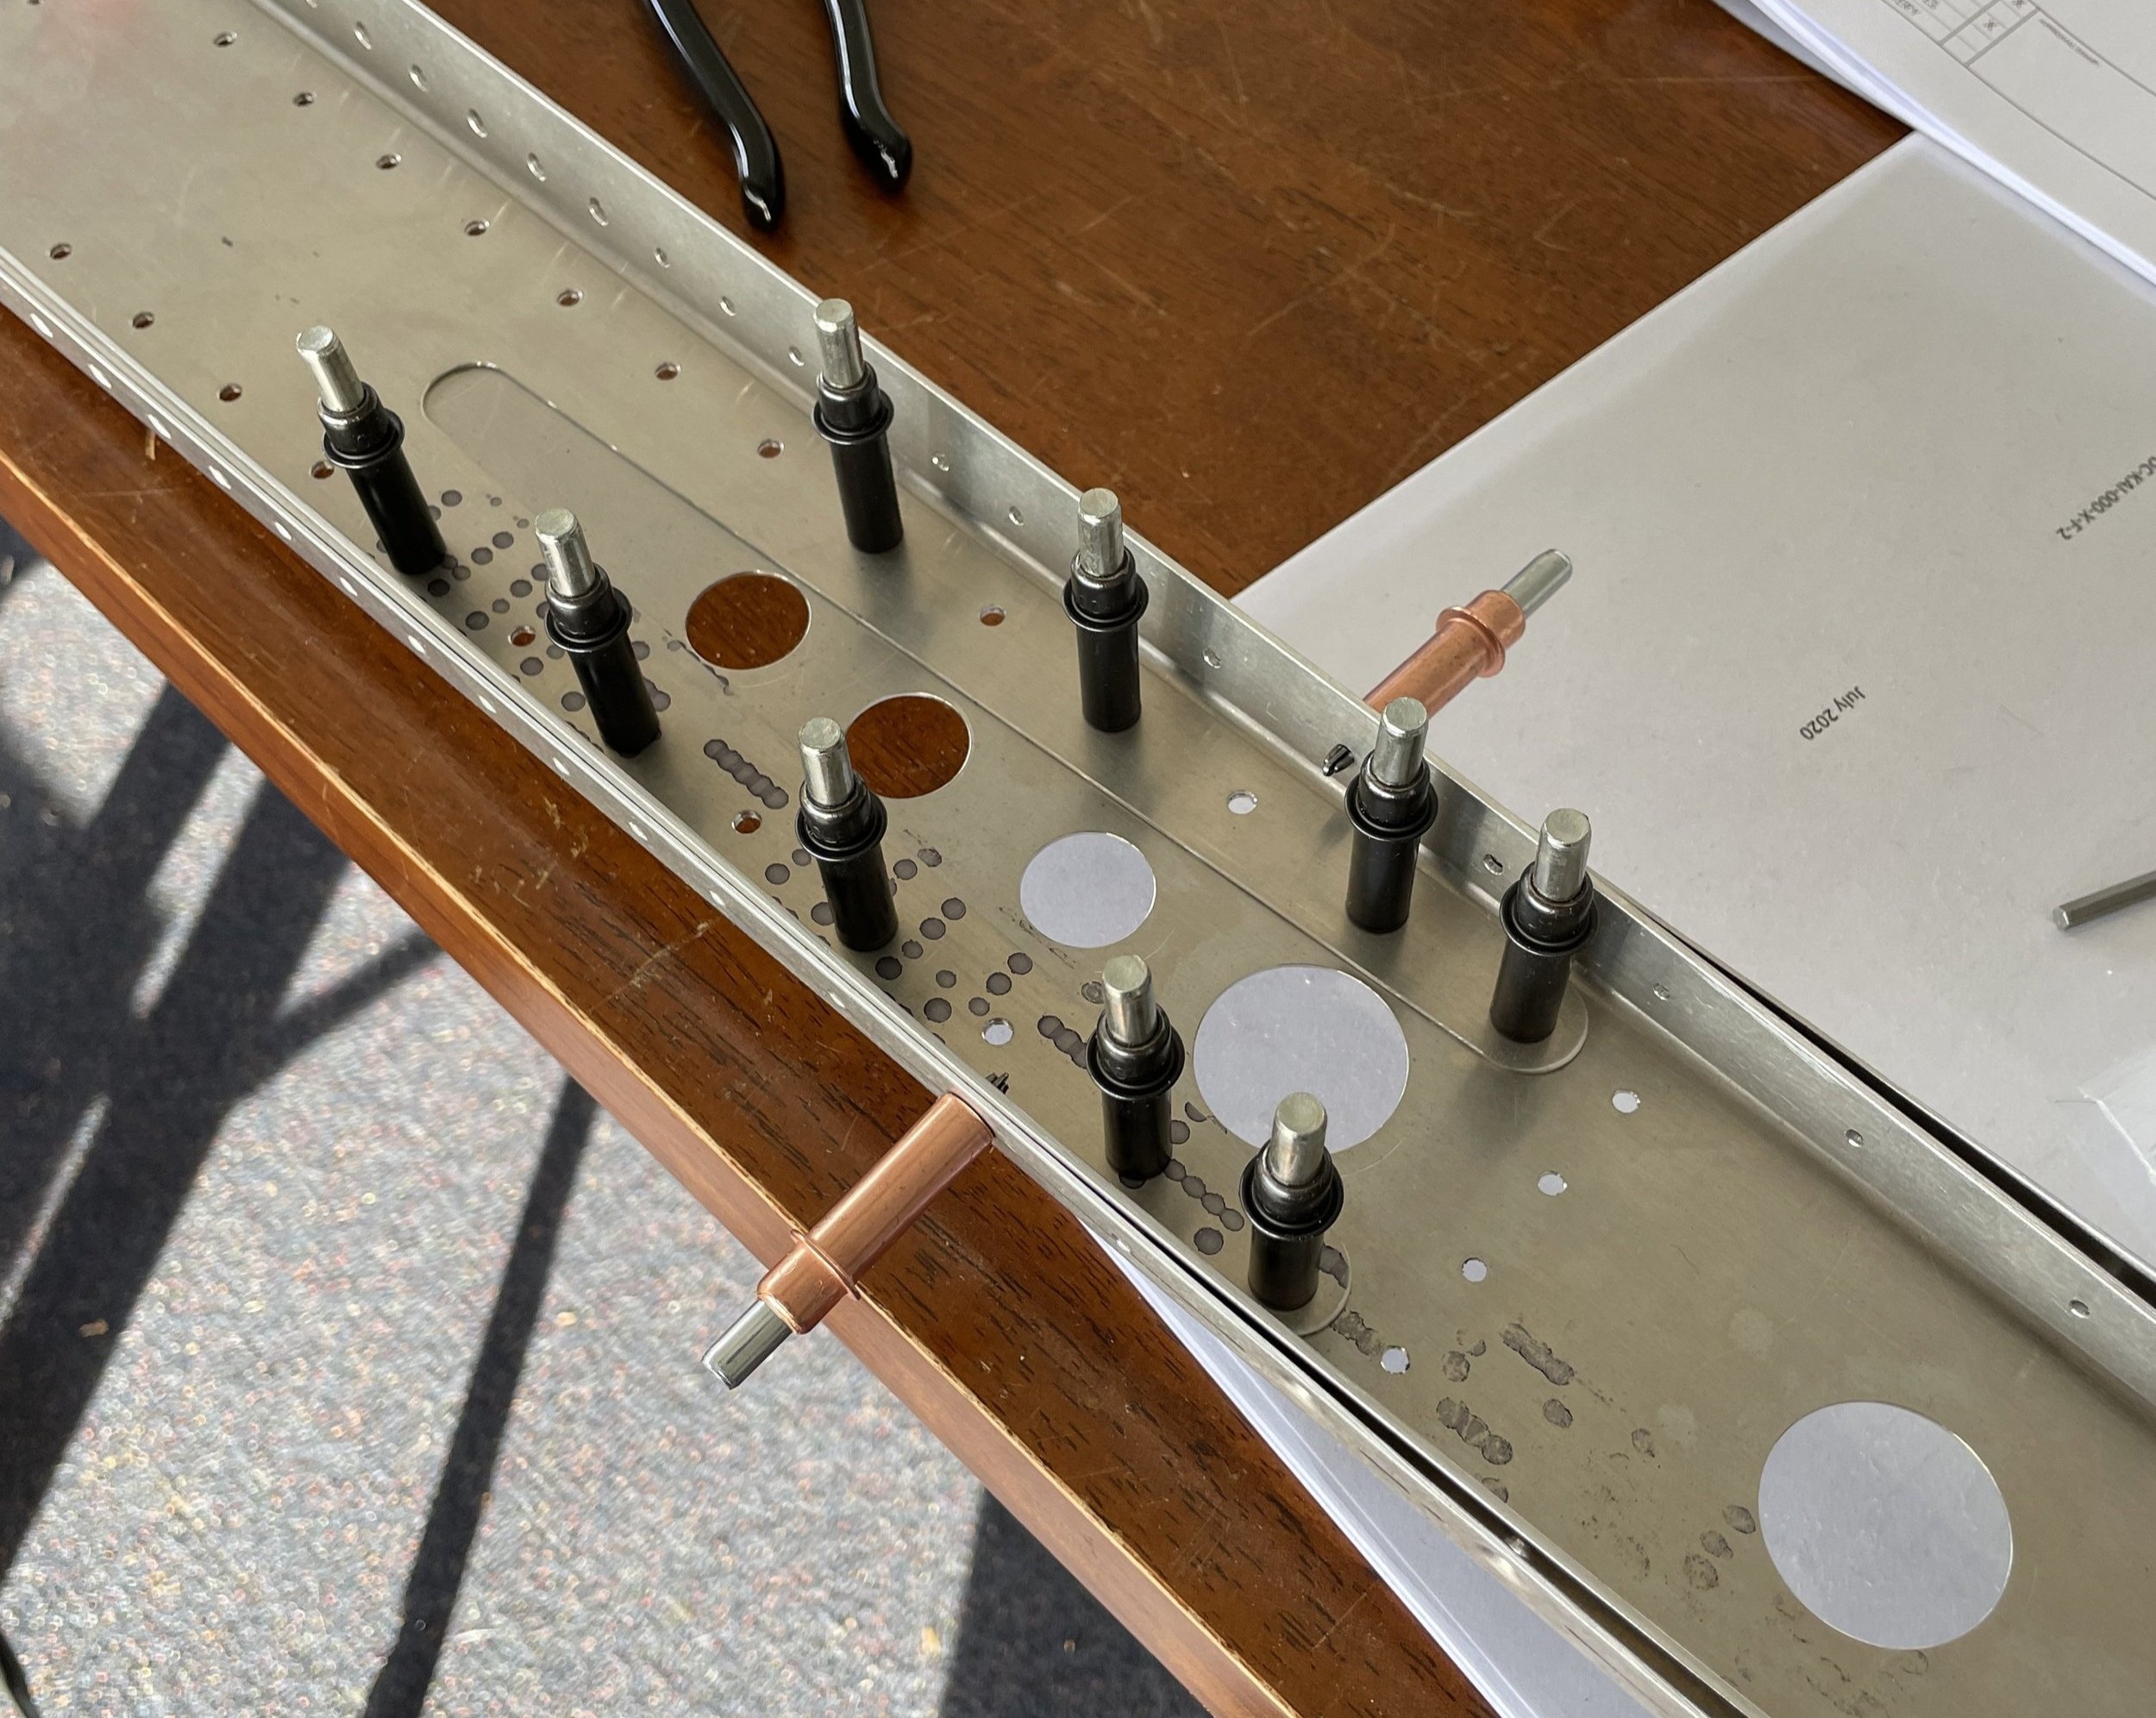
Note that these photos were from a test fit, before I primed any of the parts. Once the parts were primed and I was happy with everything, I started riveting. Was very happy to have some nice and flush rivets!

Once the front spar was fully riveted (with the exception of some holes that don’t get riveted at this stage) it was time to start fitting the ribs. This made for an interesting discovery. The rivets that hold the ribs to the spar sits inside the rib itself. This means you have a very tight space to pull the rivets in. It is impossible to get the rivet gun in there normally, so you have to pull the rivets at an angle.
However, this would cause the rivets to not pull straight and flush. I solved this by turning an old chisel into a wedge, allowing me to hold the rivet gun at an angle, but the rivets themselves stay straight.

And here is the result, nice and flush rivets:

It was simply a matter of repeating this process to get all the ribs attached to the front spar. With the rear spar missing, this is as far as I could get until those backordered parts arrive.